Written by
BoT
on
on
Installing Argo Workflow in a Production Server
Getting Argo Workflow up and running is rather straightforward when you use their quick start manifests. Unfortunately, the same can’t be said when it comes to installing it in a production-ready server.
(Or maybe I’m just too noob 🥲)
This guide assumes that you are using install.yaml – the standard argo cluster-wide installation – as the manifest, and that Helm and Kubernetes are already pre-installed and ready to go. For more information on setting up Kubernetes, do check out this post.
Step 1: Install Argo CLI
# From official Argo installation guide
curl -sLO https://github.com/argoproj/argo-workflows/releases/download/v3.1.13/argo-linux-amd64.gz
gunzip argo-linux-amd64.gz

# Unpack and move installed executable to appropriate directory
chmod +x argo-linux-amd64
mv ./argo-linux-amd64 /usr/local/bin/argo

# Check if Argo is successfully installed
argo version
Step 2: Install Argo Workflow
# Create namespace where all Argo related settings will live in: argo
kubectl create namespace argo

# Apply manifest (DO NOT CHOOSE QUICK START MANIFESTS as they are not suitable for production environment)
kubectl apply -n argo -f https://raw.githubusercontent.com/argoproj/argo-workflows/master/manifests/install.yaml

# Grant admin access to default service account
kubectl create rolebinding default-admin --clusterrole=admin --serviceaccount=default:default
Step 3: Expose Argo Workflow user interface through Nginx
# Find internal endpoint of Argo UI
kubectl get service -n argo

# Install nginx
apt update
apt install nginx

# Expose port [INTERNAL_SERVICE_IP]:2746
cd /etc/nginx/sites-available
vim argo
	server {
		listen 2746;
		server_name _;

		location / {
			proxy_pass https://[INTERNAL_SERVICE_IP]:2746;
		}
	}

# Create symlink of nginx configuration and reload to enable
ln -s /etc/nginx/sites-available/argo /etc/nginx/sites-enabled/argo
nginx -s reload
Step 4: Obtain credentials for Argo UI
# Find token name with naming convention of argo-server-token-*
# View token stored in argo-server-token
kubectl get secrets -n argo
kubectl -n argo get secrets argo-server-token-xxx -o=jsonpath="{.data.token}" | base64 -d; echo

# OR
# Find token name with naming convention of argo-server-*-*
kubectl -n argo get pods
kubectl -n argo exec argo-server-yyy-zzz -- argo auth token
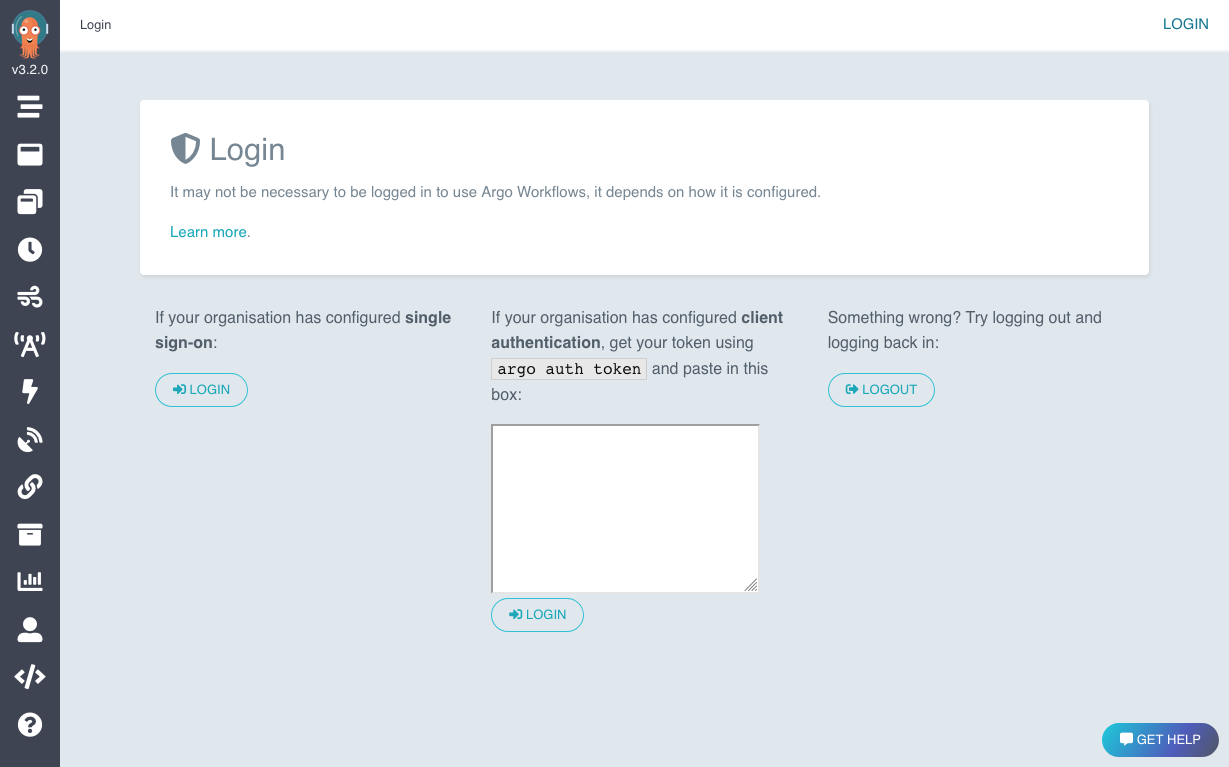
To view workflows within the browser, you should insert the base64-decoded token as Bearer <JWT_TOKEN_VALUE> into the input box at the UI dashboard.
Step 5: Configure Argo artifact repository
# Install helm via official instructions
curl -fsSL -o get_helm.sh https://raw.githubusercontent.com/helm/helm/main/scripts/get-helm-3
chmod 700 get_helm.sh
./get_helm.sh

# Install Minio in a new namespace: argo-minio
kubectl create namespace argo-minio
helm repo add minio https://helm.min.io/
helm repo update
helm install argo-artifacts minio/minio --set service.type=ClusterIP --set fullnameOverride=argo-artifacts --namespace argo-minio

# Obtain credentials for Minio UI
kubectl -n argo-minio get secret argo-artifacts -o jsonpath='{.data.accesskey}' | base64 --decode; echo
kubectl -n argo-minio get secret argo-artifacts -o jsonpath='{.data.secretkey}' | base64 --decode; echo

# Populate credentials obtained into environment file
vim .argo-minio-cred.env
	accessKey=<accesskey_value>
	secretKey=<secretkey_value>

# Create secrets based on credentials stored in environment file
kubectl create secret generic argo-minio-cred -n argo --from-env-file=./.argo-minio-cred.env -o yaml
kubectl get secret -n argo argo-minio-cred -o yaml > argo-minio-cred.yaml

# Ensure kubernetes knows where the artifacts repository is
# This assumes that bucket named argo-artifacts has already been / will be created
# Service discovery format: <service-name>.<namespace-of-service>.svc.cluster.local
# Port number obtained via: kubectl get services -n argo-minio
vim argo-minio-config.yaml
	apiVersion: v1
	kind: ConfigMap
	metadata:
	  name: artifact-repositories
	  annotations:
		workflows.argoproj.io/default-artifact-repository: default-v1
	data:
	  default-v1: |
		s3:
		  bucket: argo-artifacts
		  # obtained via service discovery
		  endpoint: argo-artifacts.argo-minio.svc.cluster.local:9000
		  insecure: true
		  accessKeySecret:
			name: argo-minio-cred
			key: accessKey
		  secretKeySecret:
			name: argo-minio-cred
			key: secretKey

# Apply configuration and give argo service account admin role to enable communication with argo-minio namespace
kubectl apply -f argo-minio-config.yaml -n argo
kubectl -n argo create rolebinding default-admin --clusterrole=admin --serviceaccount=argo:default
kubectl -n argo get configmap artifact-repositories -o yaml
Step 6: Create argo-artifacts bucket in MinIO and expose user interface through Nginx
# Create bucket named argo-artifacts via yaml (or you can use the UI)
vim minio-create-bucket.yaml
	apiVersion: v1
	kind: PersistentVolume
	metadata:
	  name: argo-artifacts
	spec:
	  capacity:
		storage: 500Gi
	  accessModes:
		- ReadWriteOnce
	  hostPath:
		path: "/data/argo-artifacts"

kubectl apply -f minio-create-bucket.yaml -n argo-minio

# Find the internal IP address of MinIO UI
kubectl get service argo-artifacts -n argo-minio

# Expose MinIO UI via nginx
cd /etc/nginx/sites-available
vim minio
	server {
		listen 9000;
		server_name _;

		location / {
			proxy_pass http://[INTERAL_SERVICE_IP]:9000;
		}
	}

# Create symlink of nginx configuration and reload to enable
ln -s /etc/nginx/sites-available/minio /etc/nginx/sites-enabled/minio
nginx -s reload
Step 7: Run workflow and see them in action 🎉
# Create simple workflow for Argo
vim hello-world.yaml
	apiVersion: argoproj.io/v1alpha1
	kind: Workflow
	metadata:
	generateName: hello-world-
	spec:
	entrypoint: whalesay
	templates:
		- name: whalesay
		container:
			image: docker/whalesay
			command: [cowsay]
			args: ["hello world"]

# Submit workflow via Argo CLI
argo -n argo submit hello-world.yaml --watch